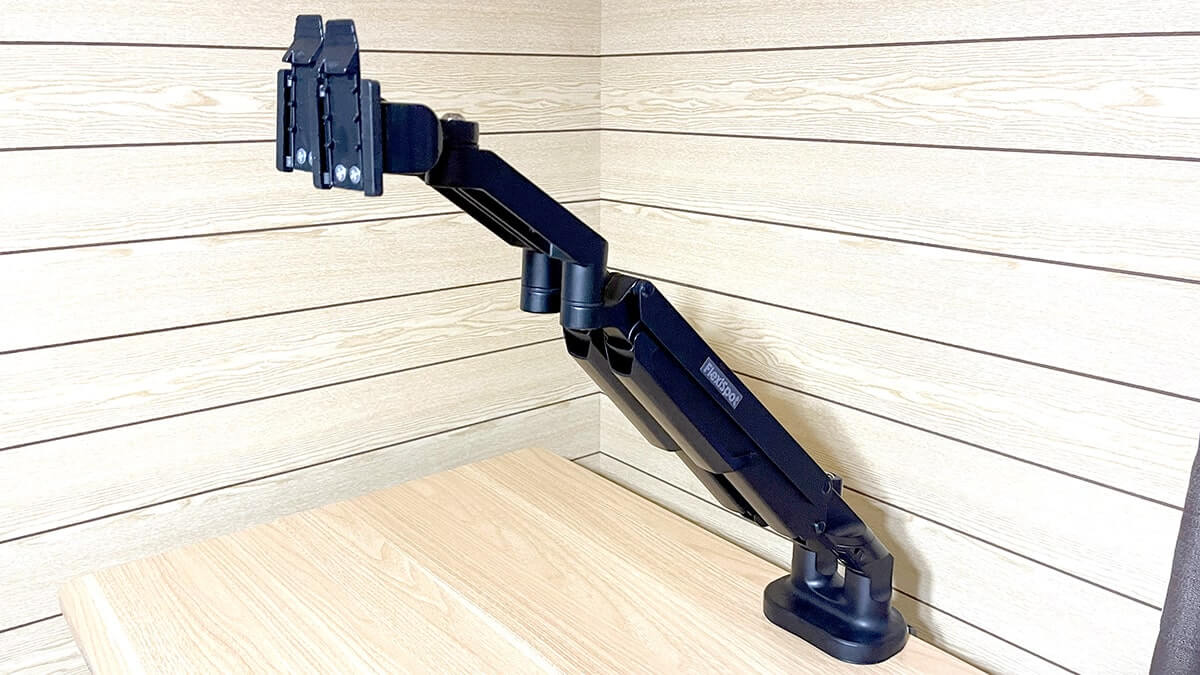
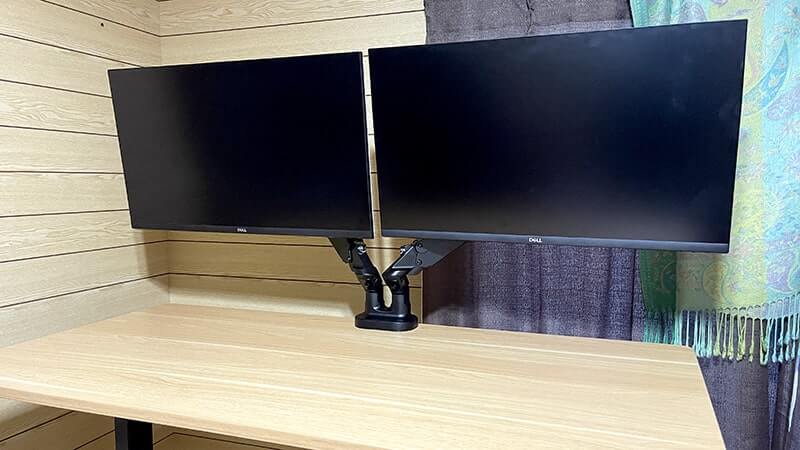
Two 27-inch monitors on their factory stands gave me the screen area I wanted and took most of the desk to do it. The stands sat in the middle of the surface, the bases were unusable space, and nudging a screen forward or up meant a two-handed wrestle.
A gas-spring dual monitor arm fixed all of that. This is what the FlexiSpot F8LD actually changed, what installing it involves, and the one part of the job you should not attempt alone.
Originally published in Japanese on July 20, 2025. This English version was written in September 2026.
Important: “F8LD” is two different products
This caught me out while checking the article for an English audience, and it is the kind of thing that ends with the wrong hardware on your desk.
The unit I own is the one sold on flexispot.jp, where FlexiSpot calls it simply F8LD — that is the model number printed in the Japanese manual. FlexiSpot’s US site also carries an F8LD. Same name from the same manufacturer, different arm:
| F8LD (flexispot.jp) | F8LD (flexispot.com) | |
|---|---|---|
| Screen size | 17–32 in | 24–36 in |
| Load per arm | 2–9 kg | 4–10 kg (8.8–22 lb) |
| Clamp / grommet | 20–60 / 25–100 mm | 20–120 / 25–120 mm |
| Weight | 5.6 kg (my own measurement — FlexiSpot Japan does not publish one) | 6.2 kg (13.67 lb, from the US page) |
Checked on September 8, 2026: the Japanese page sells the arm at ¥12,100 (roughly US$78 at September 2026 rates), in stock. The US F8LD is marked Off Shelf on FlexiSpot’s own site, though third-party retailers still carry the 24–36 inch version. So the arm reviewed here is buyable — but only from the Japanese store, and what your region sells under the same three letters may be the other one. FlexiSpot Japan also lists a sister model, the F8L; note that FlexiSpot’s own pages disagree about its load capacity, giving 3–10 kg on the F8LD comparison table and 3–12 kg on the F8L product page.
So do not shop by model number here. Every figure in this review is the Japanese unit. Match the specification instead, and check the numbers on whatever your region actually sells.
Why the stands had to go
Nothing was wrong with the monitors’ own stands. They were stable, they pivoted, they adjusted for height. As a piece of hardware I had no complaints.
The problem is geometric. Two stands mean two footprints in the most valuable part of the desk, and they fix each screen’s position relative to the desktop surface, not relative to your eyes. Every adjustment is a physical operation on a heavy object rather than a nudge.
I had also just replaced the desk with a FlexiSpot standing desk, so staying inside the same ecosystem for the arm was the path of least resistance.
The specification that matters
Before buying any monitor arm, three numbers decide whether it will work, and people check them in the wrong order. Load capacity first, then VESA pattern, then screen size.
- Screen size: 17–32 inches per arm (Japanese unit).
- Load: 2–9 kg per arm. Note the lower bound. A gas spring needs enough weight to work against; hang something too light on it and the arm drifts upward instead of staying put. My panels are about 5.4 kg each without their stands, comfortably mid-range.
- VESA: 75 × 75 mm and 100 × 100 mm.
Weigh the panel without its stand — that figure is in the manual, and it is often dramatically lower than the boxed weight people quote from a listing.
Movement range, which is what you are actually buying:
- Tilt: strongly asymmetric — 90° one way and 15° the other. The two FlexiSpot sites label the direction differently (the US F8LD page states −85° to +15°), so read the sign convention on whichever listing you are buying from. The asymmetry itself is the right way round: you tilt a screen down towards your face far more than you ever tilt one up.
- Pan: 90° each direction
- Rotation: full 360°, so either screen can go portrait
The frame is anodized aluminum and feels considerably better than the price suggests, which is a superficial observation but the thing sits at eye level all day.
Mounting, and checking your desk first
Two options, with different thickness limits — check yours before ordering, because this is the most common way a monitor arm turns out to be the wrong purchase:
- Clamp: desktops 20–60 mm thick. No drilling. This is what I used.
- Grommet: desktops 25–100 mm, through an existing hole or one you drill.
Two things the thickness spec does not tell you, and both have wrecked desks. A clamp needs clear access to the rear edge — no back panel, no crossbar, no wall pushed flush against it. And it concentrates a lot of leverage on one point, so a hollow-core or thin particleboard top can be damaged by an arm carrying two 27-inch panels even when the thickness number is technically in range. Solid top, or use the grommet mount.
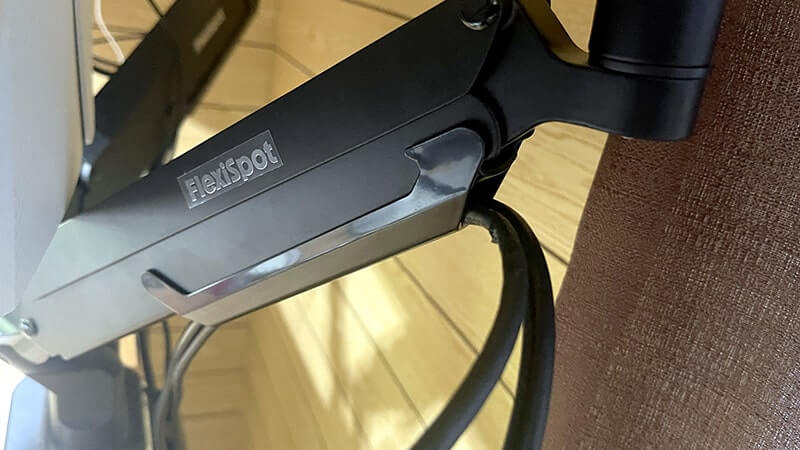
Cable covers are included and clip along the arms, which is more useful with two monitors than with one — you are routing four or more cables through the same space.
Assembly: easy, except for one step
The box is large — the one I received measured roughly 78 × 20 × 14 cm — and the arm is 5.6 kg on my own scale, so the first impression on delivery is that this is going to be an afternoon. It is not. The parts count is low and nearly everything goes together with the supplied hex key. A Phillips screwdriver is needed for the VESA plates on the back of the monitors, and that is the entire tool requirement.
I read the instructions, which I do not always do, and it went fine.
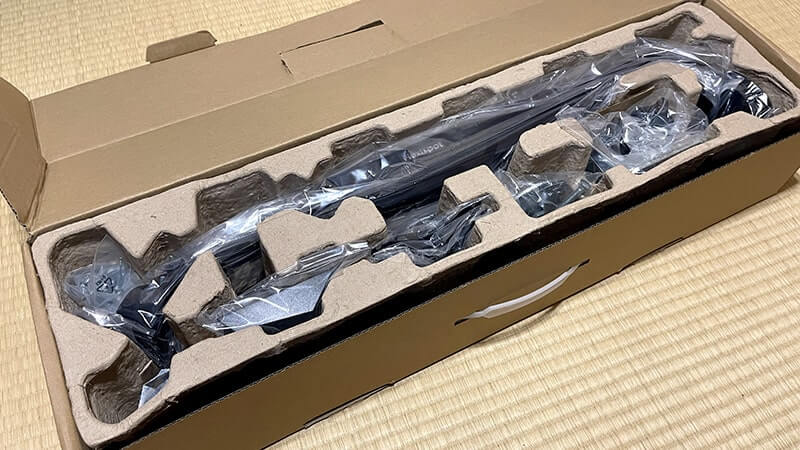
The exception is mounting the monitors onto the arms, and this genuinely warrants a second person. You are holding a 5-plus kg panel at arm’s length, at height, while aligning it into a bracket you cannot see. One-handed is not realistic, and the failure mode is dropping a monitor. Two people, ten seconds, done.
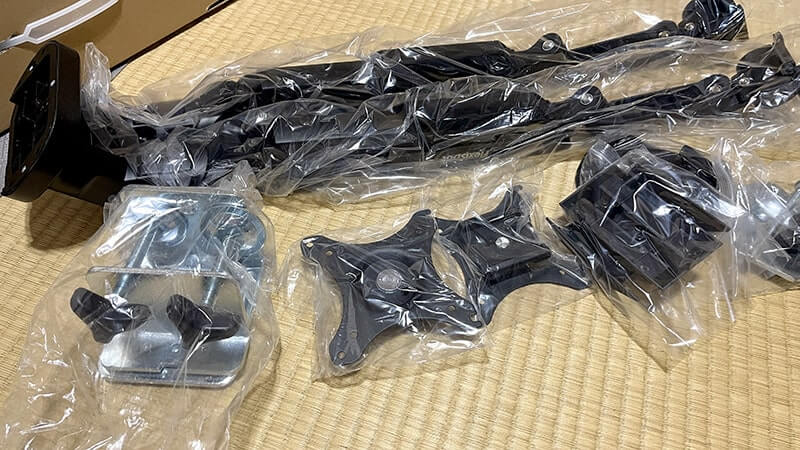
Final step is tuning the joint friction with the hex key once the screens are roughly where you want them — tight enough to hold position, loose enough to move without a fight. Worth spending a few minutes on rather than accepting the factory setting.
What changed on the desk
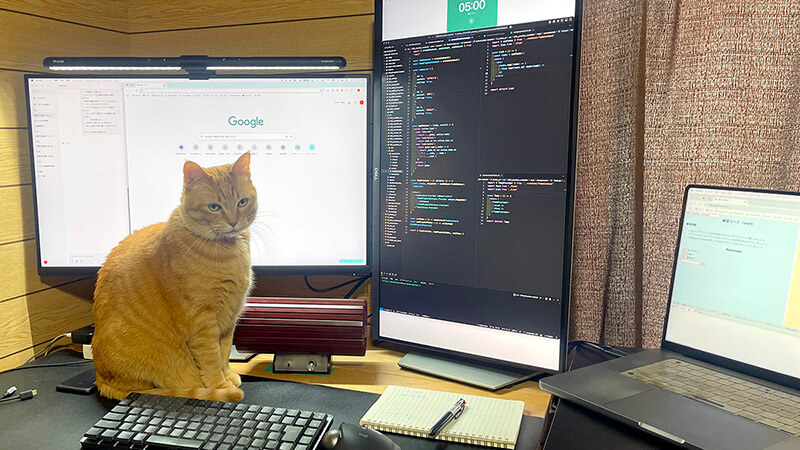
The obvious win: the space the stands occupied came back. Under-monitor area now holds speakers and stationery, and the surface directly in front of me is clear.
The less obvious one turned out to matter more. Repositioning a screen became cheap enough that I actually experiment. I started with one landscape and one portrait, tried several arrangements over the following weeks, and eventually settled on two landscape — a conclusion I would never have reached if each trial meant dismantling stands.
That is the general principle I keep re-learning while rebuilding this room: the value is not only in the arrangement being good, it is in the arrangement being easy to change. A setup you can adjust in ten seconds converges on something that fits you. A setup that resists adjustment stays wrong, because fixing it never quite clears the bar of being worth the effort.
If you want dual monitors and are hesitating because of what two stands do to a desk, this is the component that removes the objection.